
Same day delivery around Nairobi, 24hrs delivery outside Nairobi.
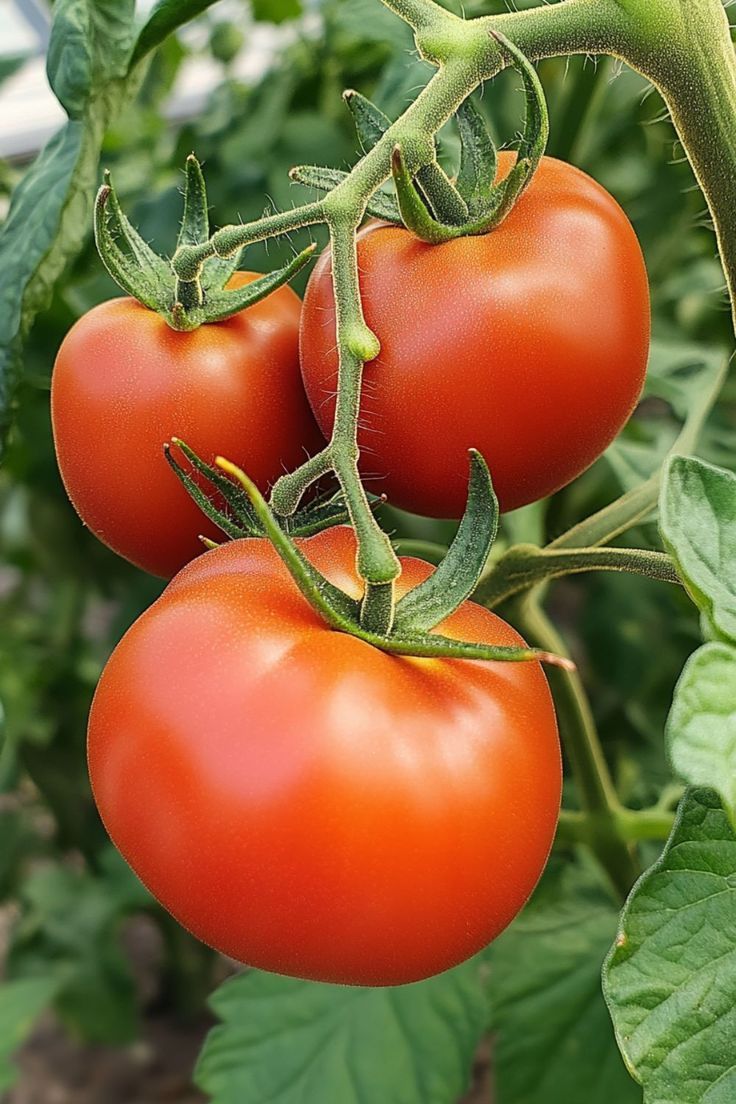
Tomatoes are among the most profitable horticultural crops in Kenya; however, achieving high yields requires a structured and well-managed farming program. From land preparation to harvesting, every stage demands the right inputs, consistent crop care, and timely application of fertilizers and crop protection products. This revised guide outlines a practical tomato production schedule designed to boost yields, improve fruit quality, and reduce losses.
1. Land Preparation
Soil Requirements
- Well-drained loamy soil
- pH 5.5–6.8
- Rich in organic matter
Preparation Steps
Begin by carrying out deep ploughing to break the hardpan. Afterward, incorporate 8–10 tons of well-decomposed manure per acre to enrich soil fertility. Finally, prepare raised beds or ridges to improve drainage and enhance root development.
2. Seed Selection and Nursery Management
Recommended Seeds
Choose high-yielding, disease-tolerant hybrid varieties from reputable suppliers such as East African Seed, Syngenta, Royal Seed, or Amiran. Selecting quality seeds reduces early crop losses and improves uniformity.
Nursery Practices
A well-prepared nursery ensures strong seedlings.
- Use sterilized soil or treat the media with an approved fungicide
- Space seeds thinly to minimize damping-off
- Mulch lightly and provide adequate shade
- Water gently every morning
After 4–5 weeks, the seedlings will be ready for transplanting.
3. Transplanting
Best Practices
Transplanting should be done in the late afternoon or on a cool day to reduce stress. Ensure proper spacing, ideally 60 cm × 45 cm, although indeterminate varieties may require wider gaps. Additionally, apply a starter fertilizer such as DAP or an organic alternative to promote early root establishment.
Optional Soil Treatments
To manage soil-related challenges, farmers may apply:
- Termiticides for termite control
- Herbicides on pathways (not on crops) to suppress weeds before they spread
4. Fertilizer Program (Per Acre)
Week 1–3: Establishment Phase
Apply NPK 17:17:17 at 50–75 kg to promote vigorous early growth.
Week 4–6: Vegetative Phase
Apply CAN or Urea at 50 kg to support robust stem and leaf development.
Week 6–10: Flowering & Fruiting Phase
Apply NPK 10:26:26 or Calcium Nitrate at 30–50 kg to enhance flowering, fruit set, and reduce blossom-end rot.
Additional Boosters
Furthermore, foliar feeds rich in calcium, magnesium, and micronutrients should be applied every 10–14 days to support plant health and improve fruit quality.
5. Pest & Disease Management
Common Pests
- Whiteflies
- Aphids
- Thrips
- Tuta absoluta (Tomato Leaf Miner)
Common Diseases
- Early and late blight
- Powdery mildew
- Bacterial wilt
Crop Protection Schedule
| Stage | Product Type | Purpose |
|---|---|---|
| Week 2–4 | Preventive fungicide | Reduce early blight & damping-off |
| Weekly | Insecticide rotation | Control aphids, whiteflies, and thrips |
| Fortnightly | Systemic fungicide | Manage late blight |
| Flowering | Mite control | Minimize flower drop |
Remember: Rotate chemicals regularly to prevent resistance buildup.
6. Water Management
Drip irrigation remains the most efficient method for tomatoes because it delivers moisture directly to the root zone. Additionally, avoiding overhead watering helps reduce blight infections. Maintaining consistent moisture is especially important during flowering and fruiting.
7. Staking and Pruning
Stake the plants 2–3 weeks after transplanting to keep them upright and reduce disease pressure. In addition, remove side shoots to improve aeration. Pruning excess leaves further encourages better light penetration and stronger fruit development.
8. Harvesting
Harvest tomatoes when fruits are firm, mature, and have developed their characteristic color. For best results, pick twice a week and use clean crates to minimize bruising and preserve quality.


